


fantasy_kenny
2005-11-15 06:55 PM
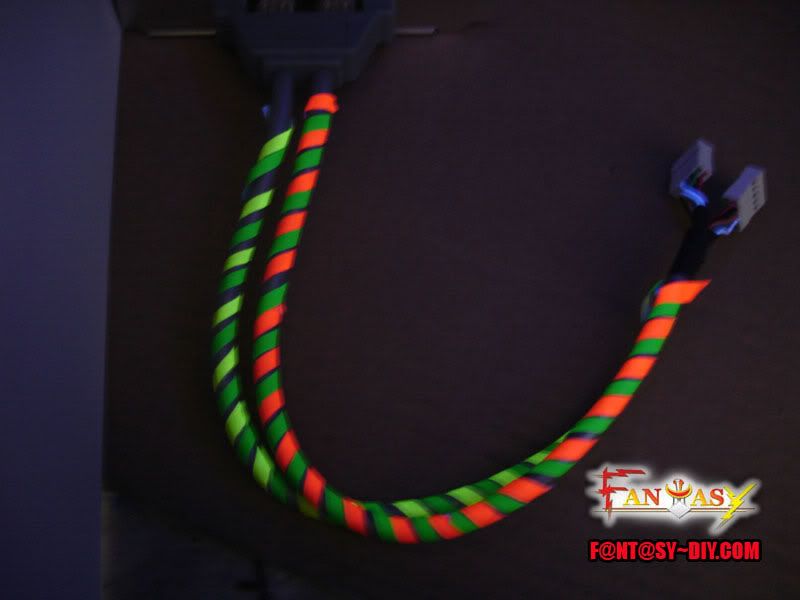
大家好,市面上有着很多UV系列的Cable,Fan等等的,可是大家都在用,变得UV的东西过为普通话,失去独一无二的色彩。
今天我将会教大家如何制作属于自己的个人化UV。
首先,必须到文具店去购买.
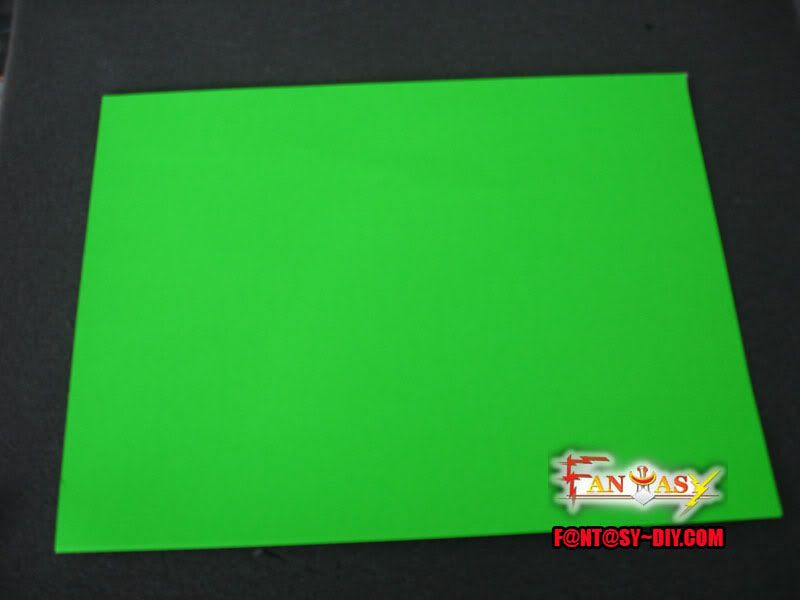
Flourecent Sticker(UV Sticker)一张RM1.00左右
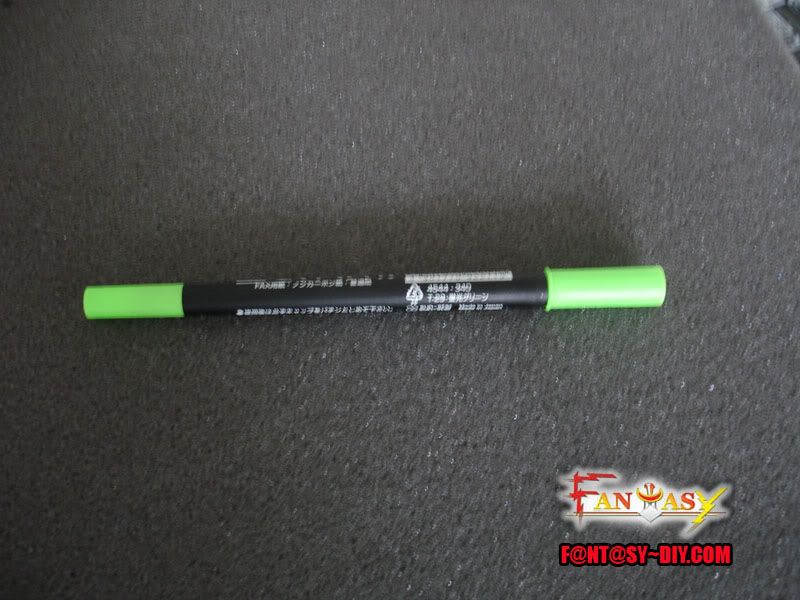
和Flourecent Marker Pen(Highlight Pen)
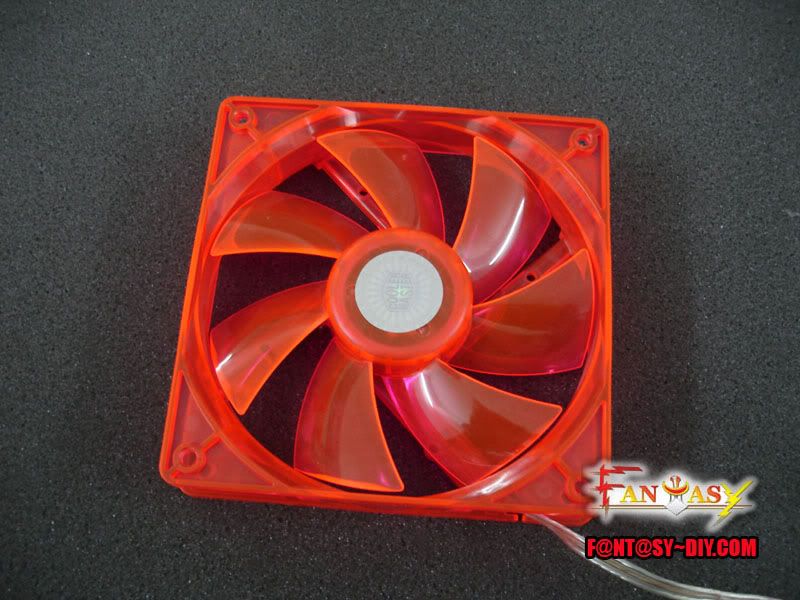
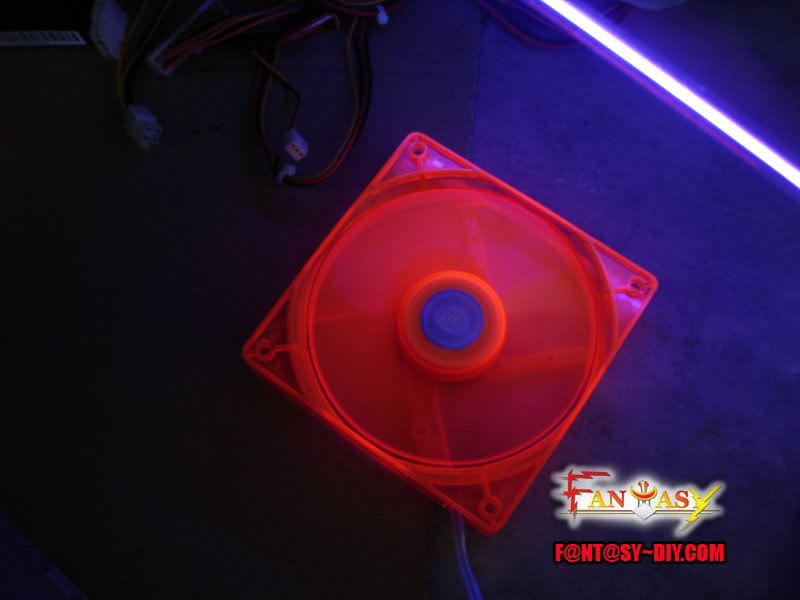
这样的UV是否很单调??没有关系,让我们改变它吧。

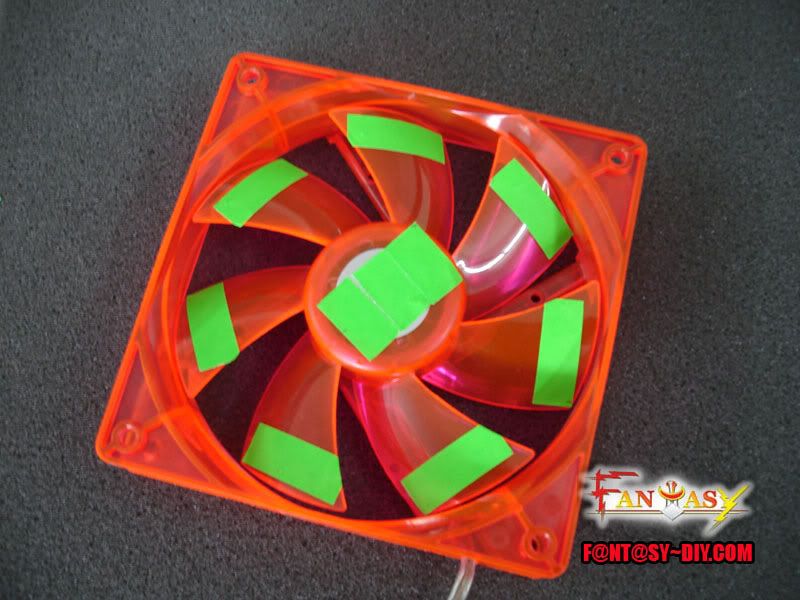
我们将Flourecent Sticker给剪成Fan叶片的数量,然后将剪好的sticker贴在叶片上。。。

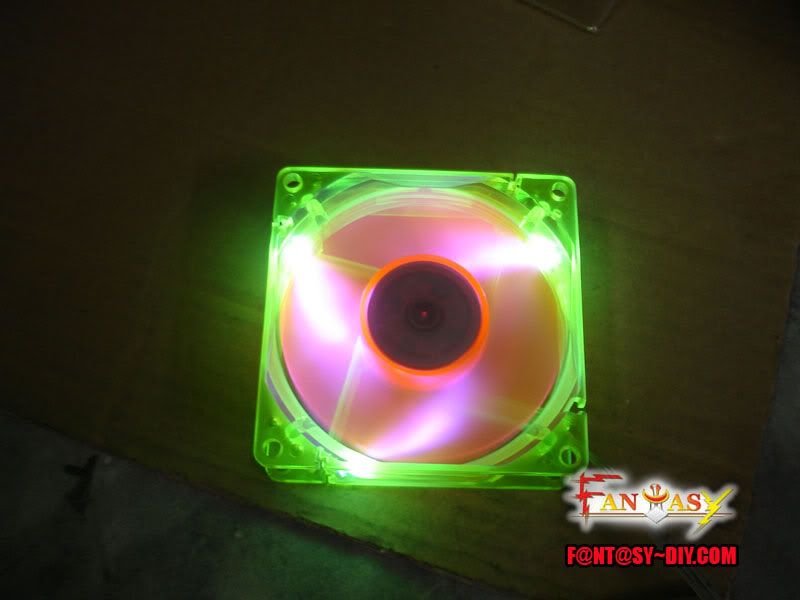
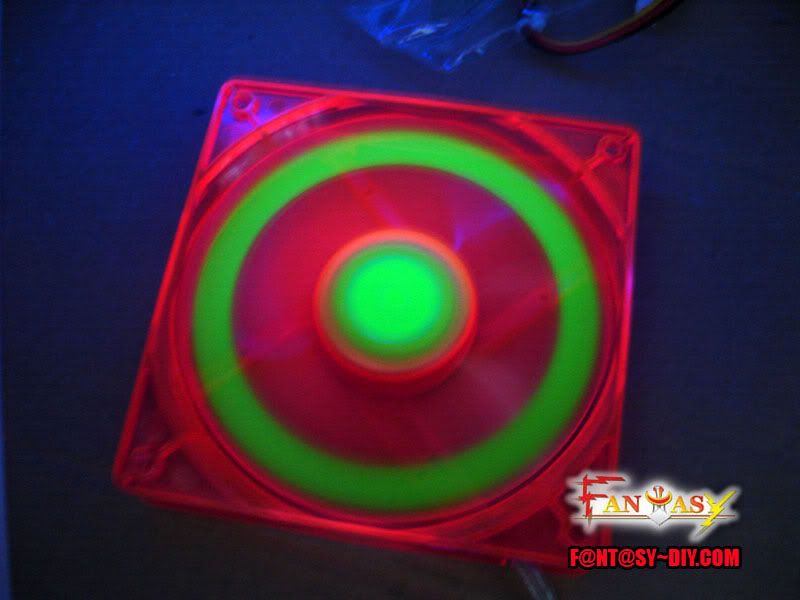
这是UV出来的效果。
当然方式是自由的,要贴成这样也使可以。
及UV出来的效果。
 如果嫌剪很麻烦,用打洞的也是可以。
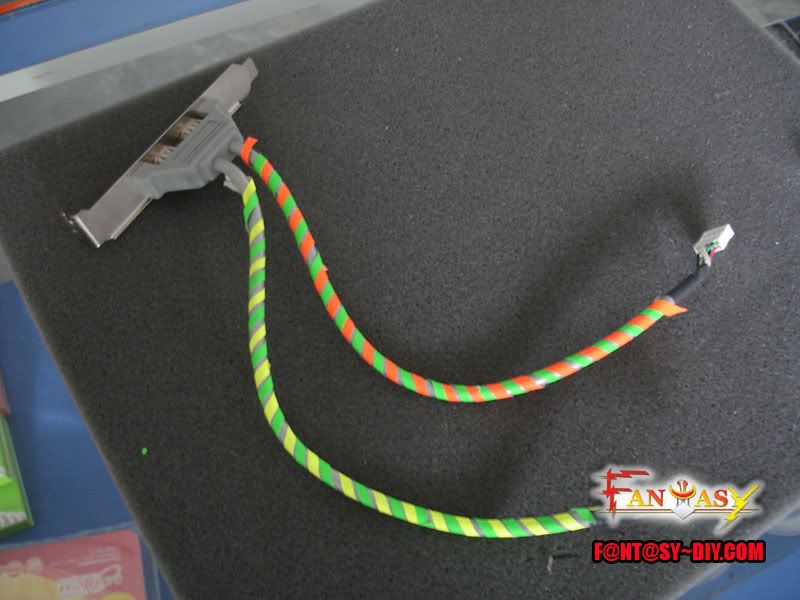
就连在USB Adpdater也是可以酱做。
嫌自己的stock cooler不漂亮,但是又没有什么钱去换美美的cooler??
哈哈,大家可以酱做。
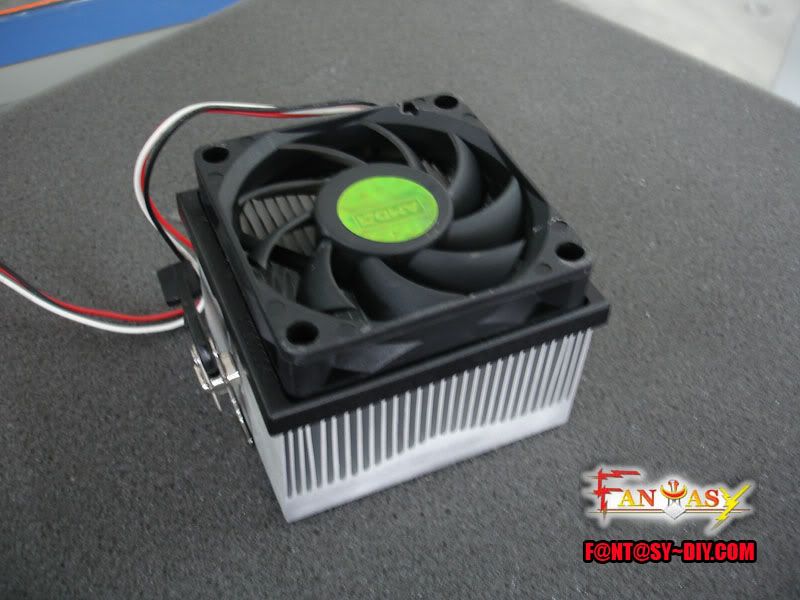
实验为AMD K8的stock cooler。是不是很单调??
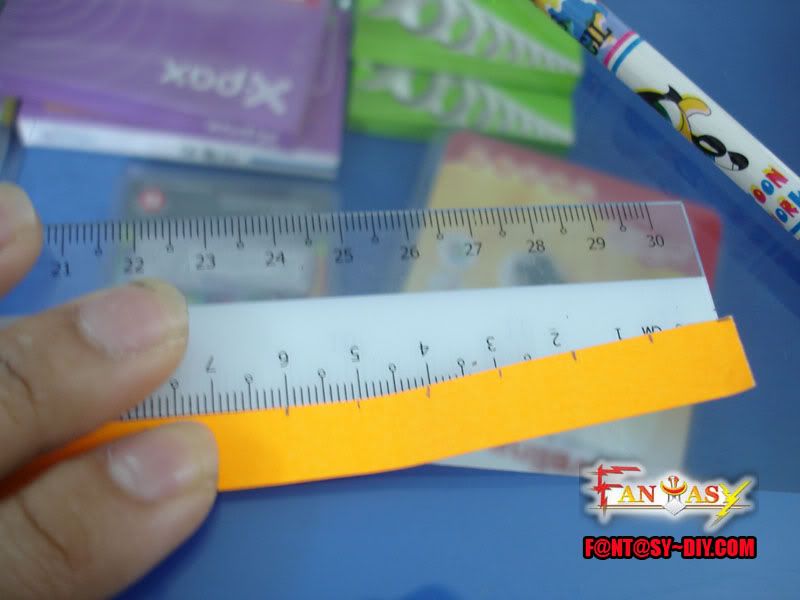
那么进行DIY,将UV sticker的长度给量好,并剪下。或者用打洞机打出圆形的出来,但是比较小个,效果没有那么好。

剪好并上贴的样子。
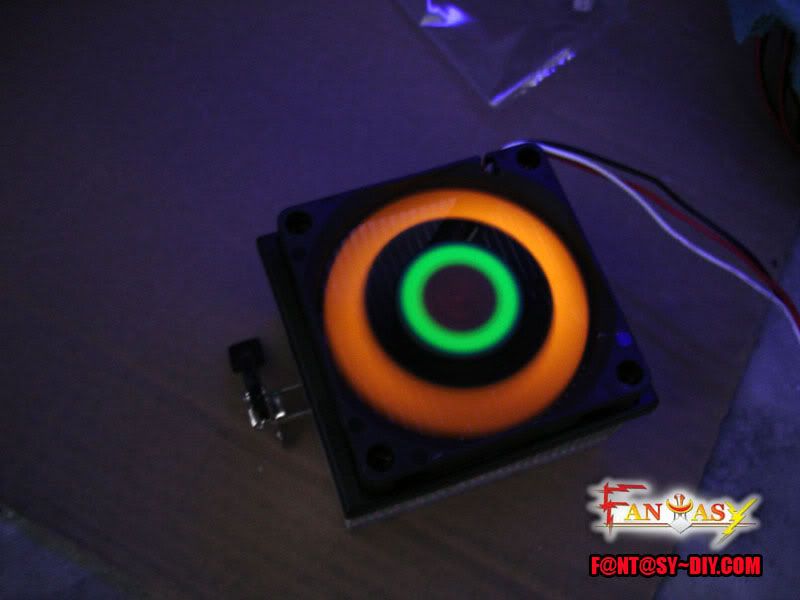
UV照出来的样子。
可以利用普通的highlight pen在金属的地方涂上。同样也是有UV效果的。但是比较浅,需要多次的上涂。

主板上的电容也是可以,用打洞机打出圆形,然后贴在主板的电熔上面。
UV效果
主板的南北桥Cooler也是可以用highlight pen涂上。
UV效果
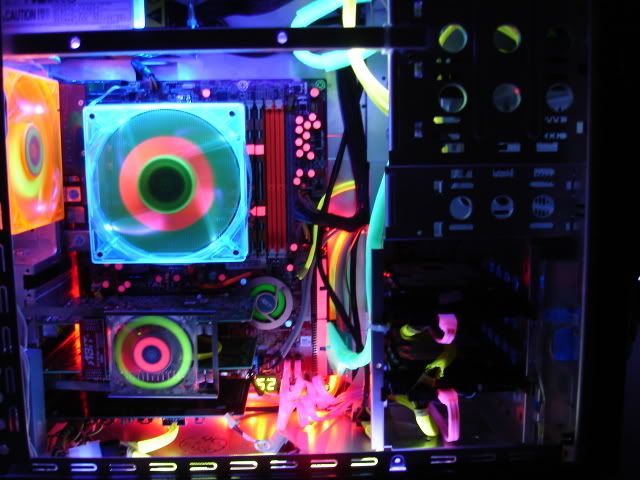
就这样,整体来看的case就会像这样
大家可以随心所欲的DIY出个人化的UV色彩。;)
*各位担心没有warranty??放心,只要用酒精+Tissue抹掉就可以了。这样就能warranty,而不像真正的UV Pen的那么难去除。*
[size=-2]
[ 本帖最后由 fantasy_kenny 于 2006-4-16 05:05 PM 编辑 ]
今天我将会教大家如何制作属于自己的个人化UV。
首先,必须到文具店去购买.
Flourecent Sticker(UV Sticker)一张RM1.00左右
和Flourecent Marker Pen(Highlight Pen)
这样的UV是否很单调??没有关系,让我们改变它吧。
我们将Flourecent Sticker给剪成Fan叶片的数量,然后将剪好的sticker贴在叶片上。。。
这是UV出来的效果。
当然方式是自由的,要贴成这样也使可以。
及UV出来的效果。
如果嫌剪很麻烦,用打洞的也是可以。就连在USB Adpdater也是可以酱做。
嫌自己的stock cooler不漂亮,但是又没有什么钱去换美美的cooler??
哈哈,大家可以酱做。
实验为AMD K8的stock cooler。是不是很单调??
那么进行DIY,将UV sticker的长度给量好,并剪下。或者用打洞机打出圆形的出来,但是比较小个,效果没有那么好。
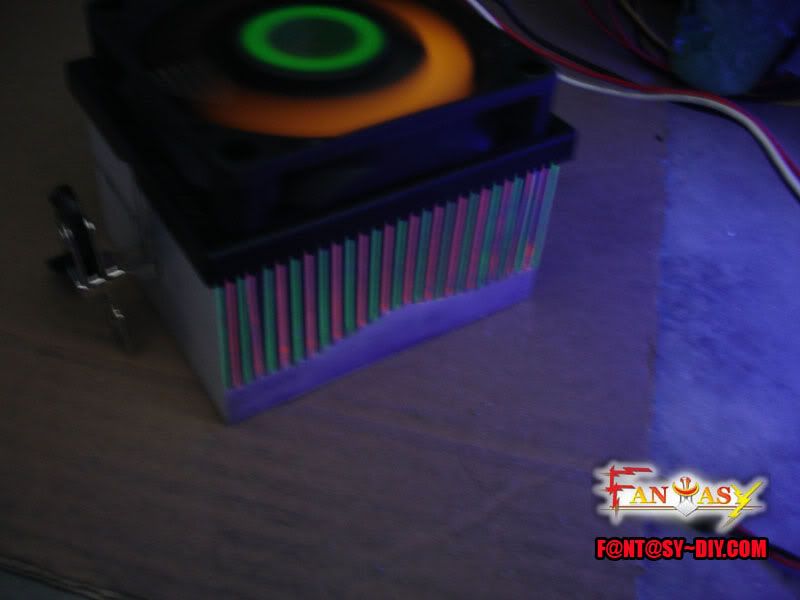
剪好并上贴的样子。
UV照出来的样子。
可以利用普通的highlight pen在金属的地方涂上。同样也是有UV效果的。但是比较浅,需要多次的上涂。
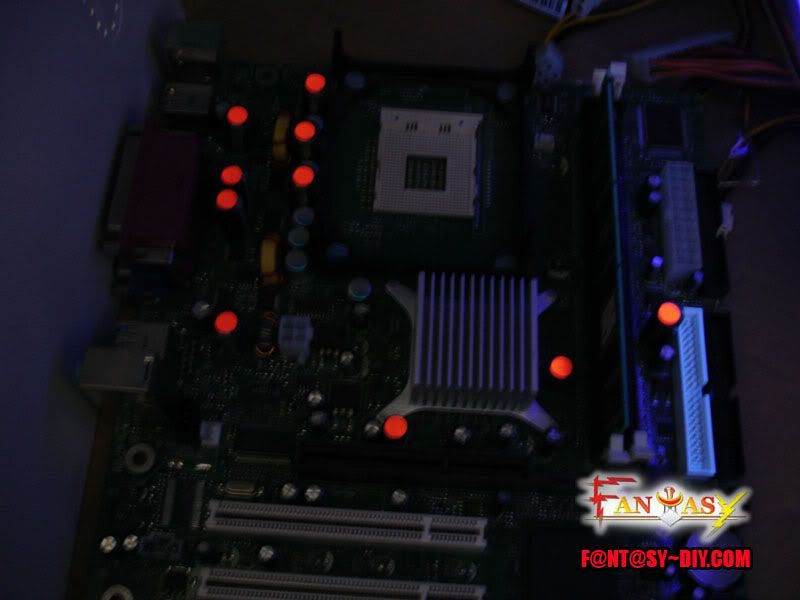
主板上的电容也是可以,用打洞机打出圆形,然后贴在主板的电熔上面。
UV效果
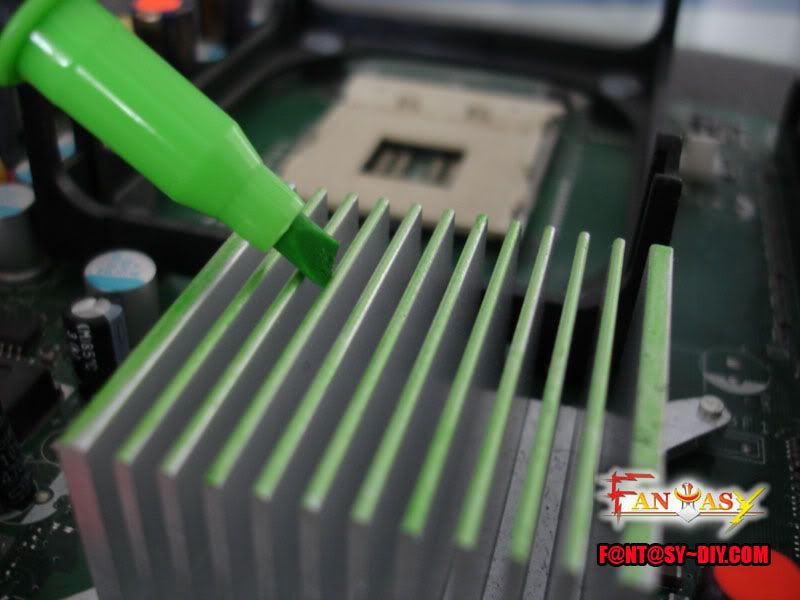
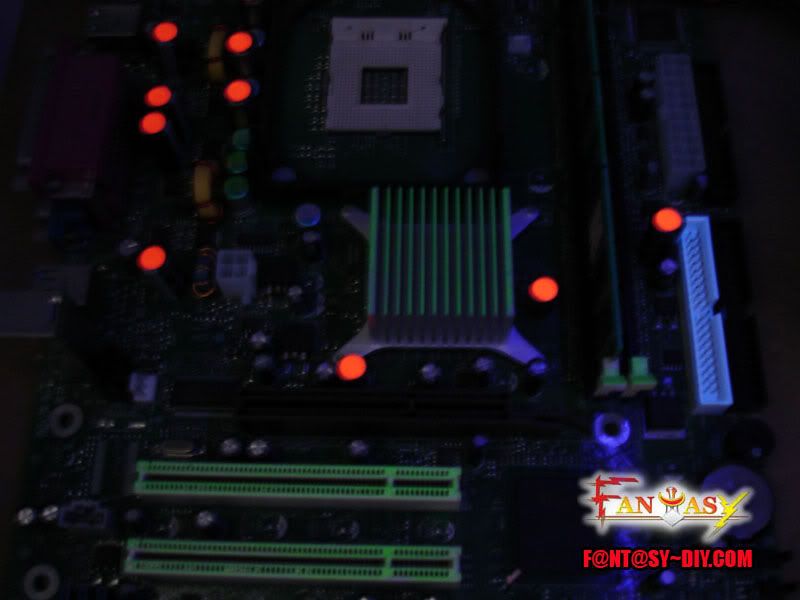
主板的南北桥Cooler也是可以用highlight pen涂上。
UV效果
就这样,整体来看的case就会像这样
大家可以随心所欲的DIY出个人化的UV色彩。;)
*各位担心没有warranty??放心,只要用酒精+Tissue抹掉就可以了。这样就能warranty,而不像真正的UV Pen的那么难去除。*
[size=-2]
[ 本帖最后由 fantasy_kenny 于 2006-4-16 05:05 PM 编辑 ]
